Little Things Mean A Lot
Posted By Russ Emerson on May 3, 2010 at 4:28 am
It’s been almost a month since I last posted on the subject — a month full of fiddling small details.
When last I wrote, the hull shell was complete; interior and exterior fittings had yet to be done. It might have looked sort of like a boat, squinting, from a distance, but without the little details it wouldn’t be anything like a true-to-life representation.
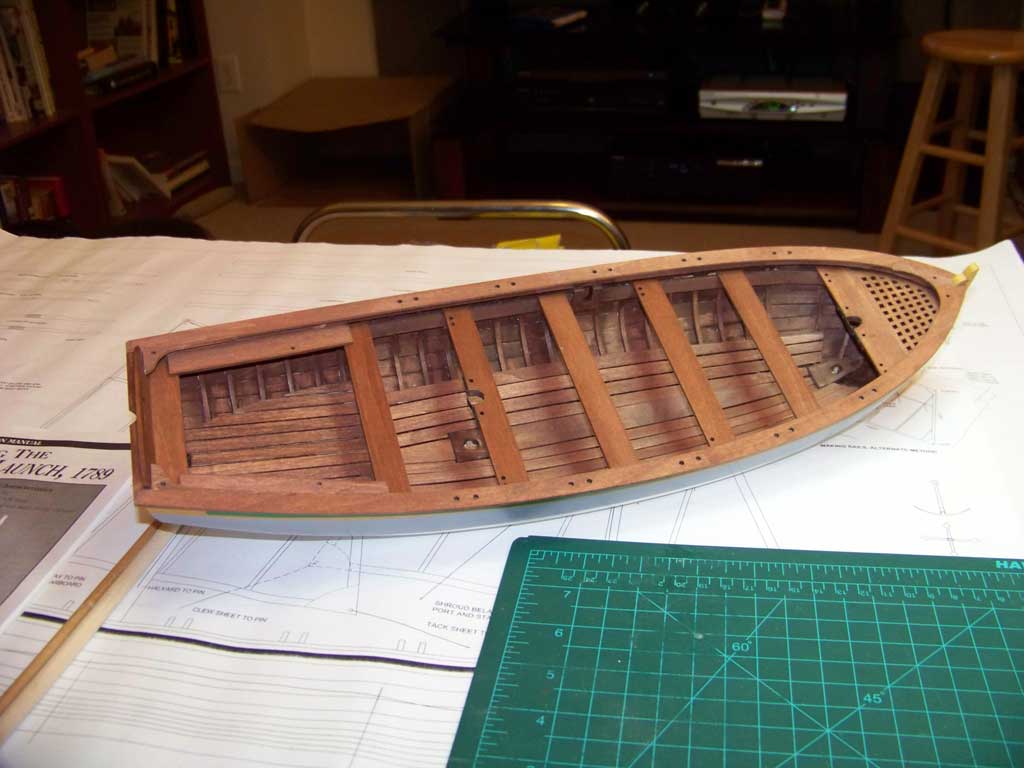
First, the bow grates and the thwarts — benches for rowers — had to be installed. Measurements for spacing them were taken off the plans, but it was equally important to eyeball them to ensure they were parallel. A thwart out of alignment would stick out like a sore thumb. Fortunately, the spacing and alignment came out just right, with virtually no cheating needed to make them look shipshape.
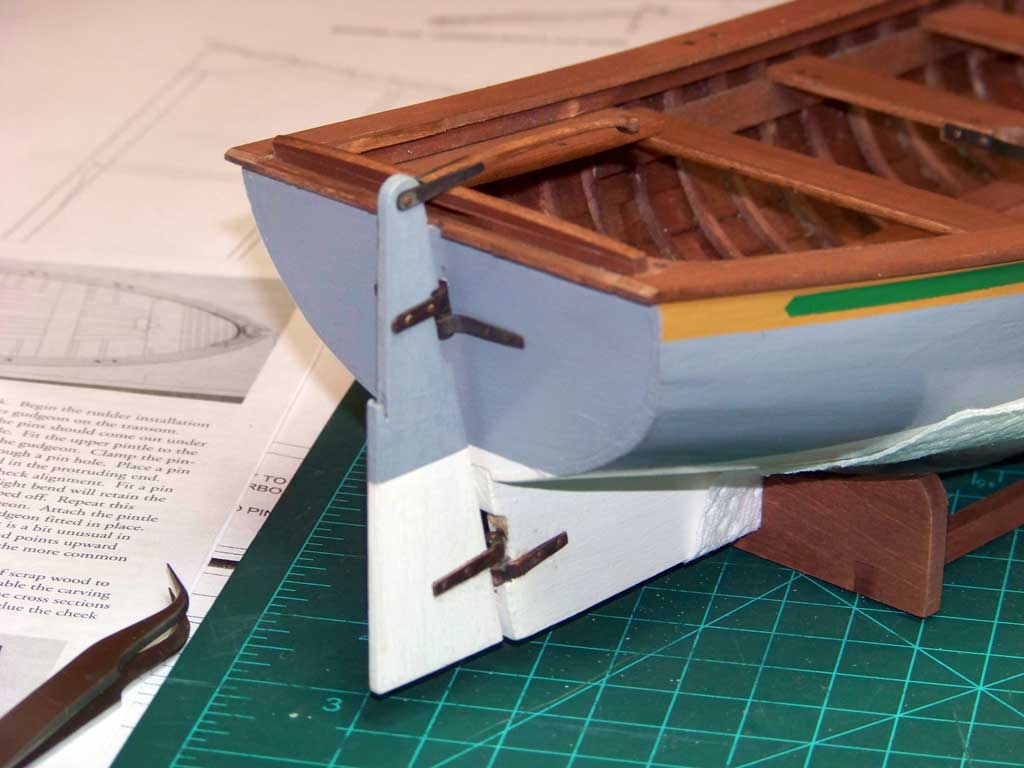
The main item that had to be attached to the exterior of the hull was the rudder. It had earlier been painted along with the hull, but the pintles and gudgeons — the “hinges,” if you will — required some small-scale labor. Supplied in brass, the parts had to be filed to shape, bent to fit, and then colored using a chemical blackening solution before being secured to the rudder and hull with tiny brass nails.
The tiller was shaped, stained, and secured to the head of the rudder with brass strips prepared in the same way as the pintles and gudgeons.
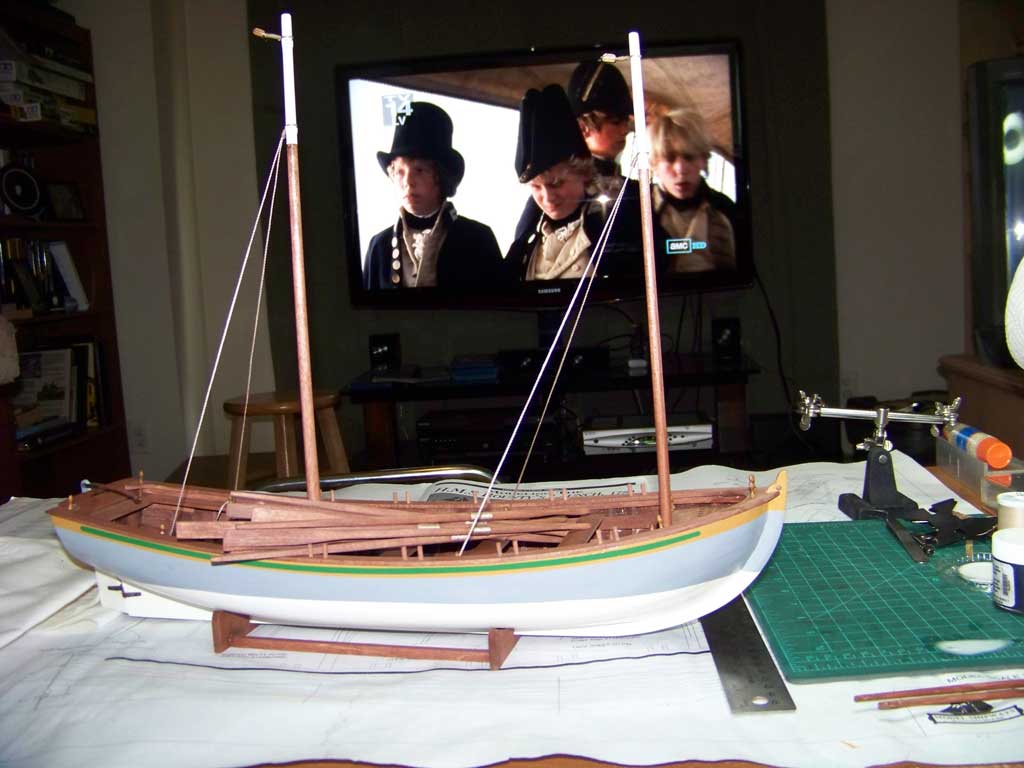
You may have noticed what appears to be a paper towel sandwiched between the hull and the display stand. That’s because there was a paper towel there — placed to prevent the edges of the stand from marring the paint of the hull. Eventually, small felt strips were adhered to the stand to prevent marring, but I am undecided about whether to let the boat sit loose on the stand, or whether I ought to drive a screw up through the stand and into the keel to permanently secure it. We’ll see.
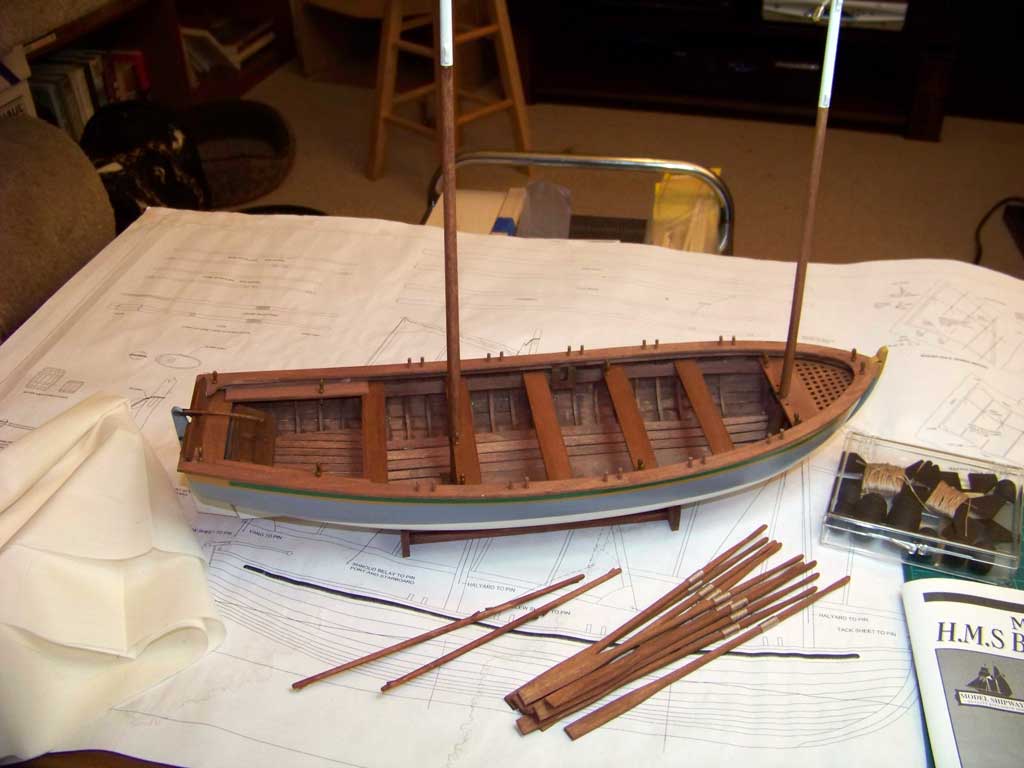
Next, the masts were made up. On a boat like the Bounty’s Launch, the masts are a fairly simple affair, requiring a bit of tapering and the installation of cleats up toward the top (hard to see in this photo) the purpose of which will be evident shortly.
Thole pins for the rowing positions were cut to size, stained, and added to the gunwales. After I’d glued them in place, it occurred to me that they might all be in the wrong places.
In most rowed boats, the rowers would face aft and pull their oars — yet on this model the tholes are positioned as if the rowers were to be facing forward and pushing their oars. A bit of research might give a clue; there’s a good chance I’m wrong. Even if I had noticed the matter before gluing in the thole pins, I probably would have just taken the kit designer’s locations as accurate.
Also seen here: the spars to which the sails might be attached, and the oars, which were carved out of 3/16″ laser cut basswood blanks and bound with rope.
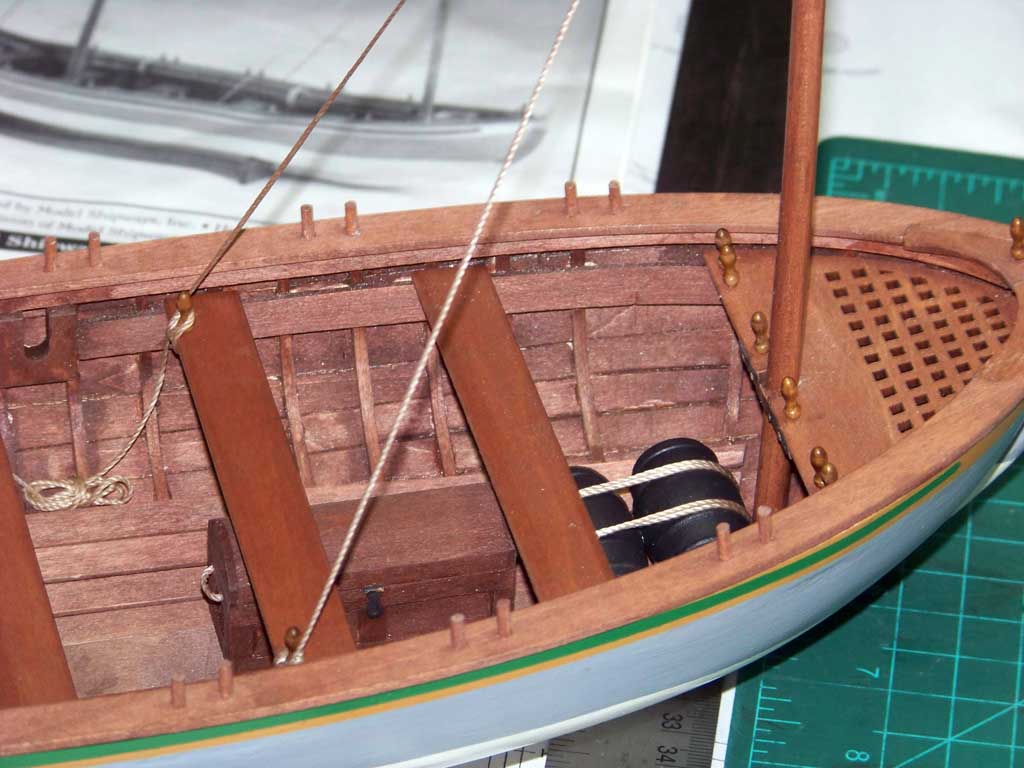
Other accessories had been made up: some pre-turned wooden barrels were included with the kit, and were painted a solid black. A tool chest, which was a miniature kit all by itself, was assembled and stained, and hinges and a hasp fabricated from brass. Belaying pins were placed, and finally the rather rudimentary standing rigging could be attended to.
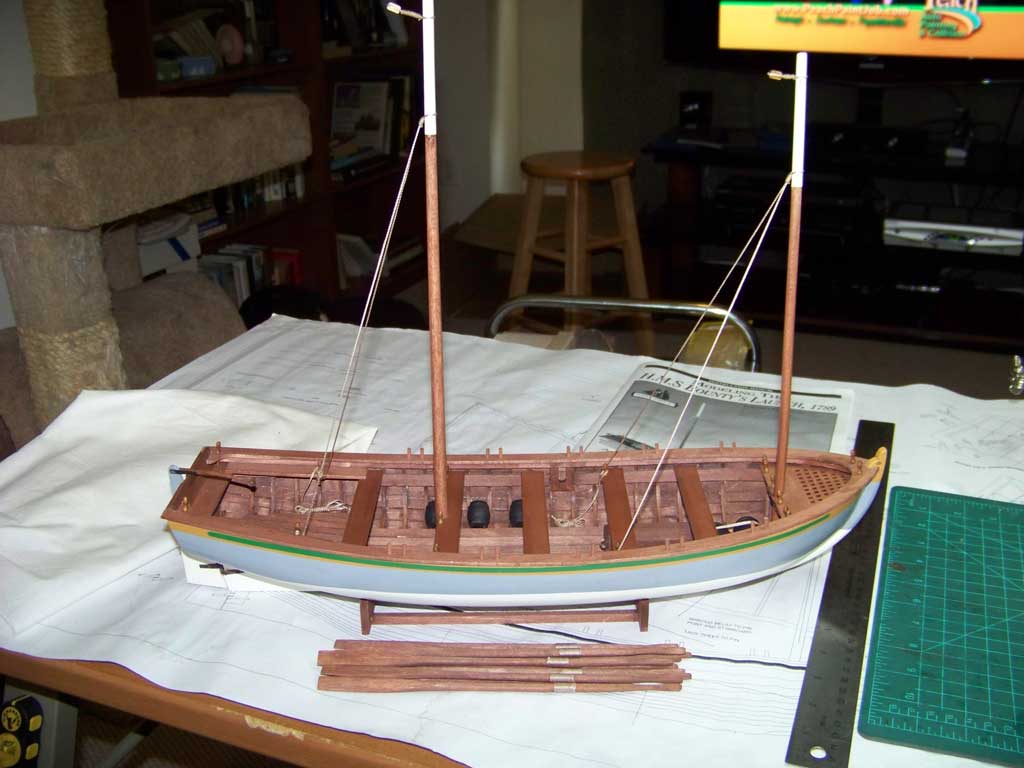
It’s still hard to see in this photo, but the previously mentioned cleats on the masts are what are holding the rope in place where it is secured around the masts. The backstays run from the lower sets of cleats back to their respective belaying points, where they were secured. A bit of diluted white glue was brushed onto the ropes at the belaying pins to keep it in place and to (I hope) get it to hang naturally.
Coils of rope were made up separately, brushed down with diluted glue, and then stealthily attached to the free ends of the belayed backstays in order to simulate that a much longer rope had been used than I had in fact used.
You can also see in the photo below the tool chest and a pair of barrels — used to store provisions and water — lashed together. They’re placed there in the photo for no better reason than I didn’t have a better place to put them at the time. The kit instructions do not specify where they ought to be located, but it seems sensible to me that they would have gone in the stern, where Captain Bligh would more easily have been able to control them.
That’s it. The model is at a point where the builder can genuinely claim completion. But hang on a minute: what about sails?
Well, the issue of whether or not to put sails on a model is usually settled by the observation that sails make an otherwise fine scale model look more like a toy. It’s virtually impossible at model scales to get sail fabric to hang in a realistic manner. I am generally in agreement with this sentiment.
However… the kit includes material and plans for sails… and I’ve never actually done sails. So what I have decided to do is to make the sails and secure them to the spars, but have them furled up and display them that way — present, but not showing their un-scale-ness. So, that’ll be the final thing to do, if for no other reason than to be able to say that I’ve tried making sails at least once.
I need an embroidery hoop….
One of my all-time favorite movies was playing on the DVR while I was preparing this post. Master and Commander — The Far Side Of The World is perhaps the best “age of sail” movie ever made. I recommend it most highly.
Comments