Second Planking
The spare basswood and walnut strips arrived from Model Expo, and were a pretty close color match to those supplied in the kit — though, being sized to imperial rather than metric measurements, the walnut was a tad thinner and a skosh wider than the original .5x4mm strips. The basswood was a pretty close match.
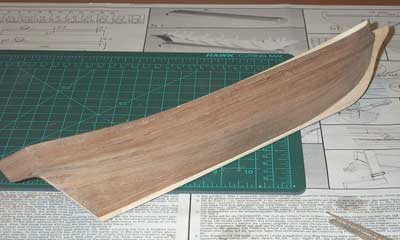
It was a bit tricky to glue the basswood strips edge-to-edge to the top of the existing bulwarks, even with the tip-tops of the frames to aid in alignment. The problem was that I'd already done the exterior planking in walnut (see the picture here) so the 1mm thick basswood had to be lined up properly on the edge of a 1.5mm bulwark. I solved the problem by glueing the edge of the basswood, getting it approximately lined up, and then using scraps of .5mm walnut as shims while applying every single spring clamp in my collection. I'm pleased by the results.
The second planking then continued, three plank widths above the false deck and all the way down to the keel. More accurately, I worked from the top down and the bottom up, meeting approximately mid-way down.
I spent a lot of time fitting the second layer walnut planks, particularly at the joint where the planks meet the stem — it's a lot of fiddly work with very sharp X-acto blades and small rasps. I paid a lot of attention there as I wanted to minimize the amount of wood filler that's going to be needed before sanding and painting the lower hull. As expected, the planks needed tapering at the bow, and a couple of stealers were needed to fill in some gaps at the stern.
I'm not terribly happy with the contour of the hull right above the keel and abaft the stem, but the frames and drawings all seem to indicate that I got it right.
Though they don't show up well in this picture, the wales have also been installed. A fair amount of soaking was required to get them to bend around the bow properly.
